Do you have a question about tapped holes on your part? You’re not alone, luckily this guide should answer all of the questions you have about how to add tapped holes to your part.
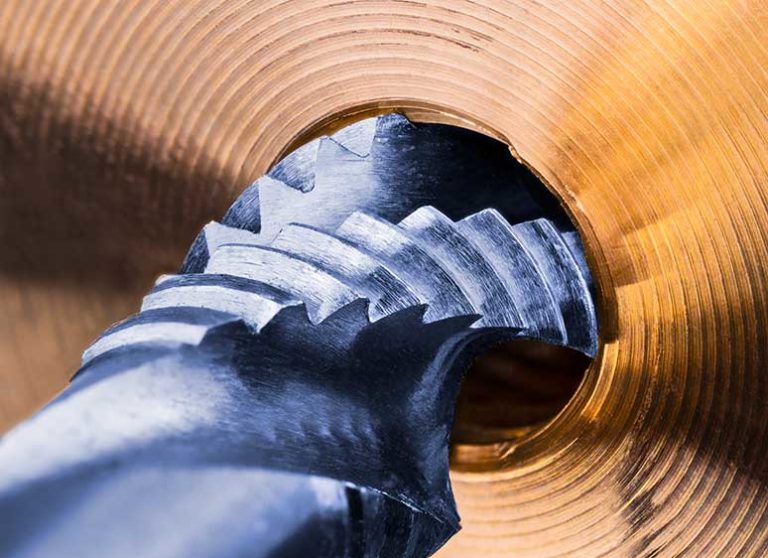
Drilling and tapping are two different actions. Drilling refers to creating a smooth hole in a material with a drill and motor. Tapping is the action that creates a thread into the side of the hole.
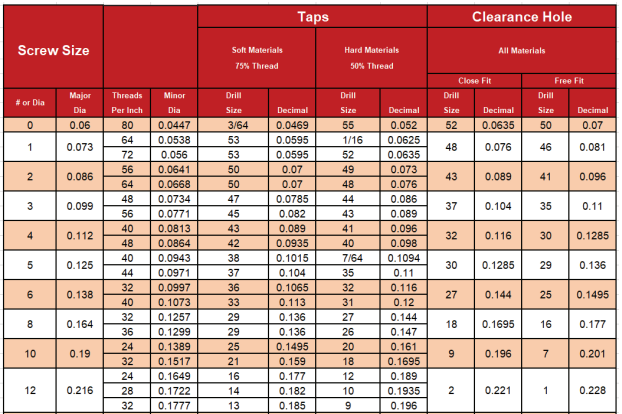
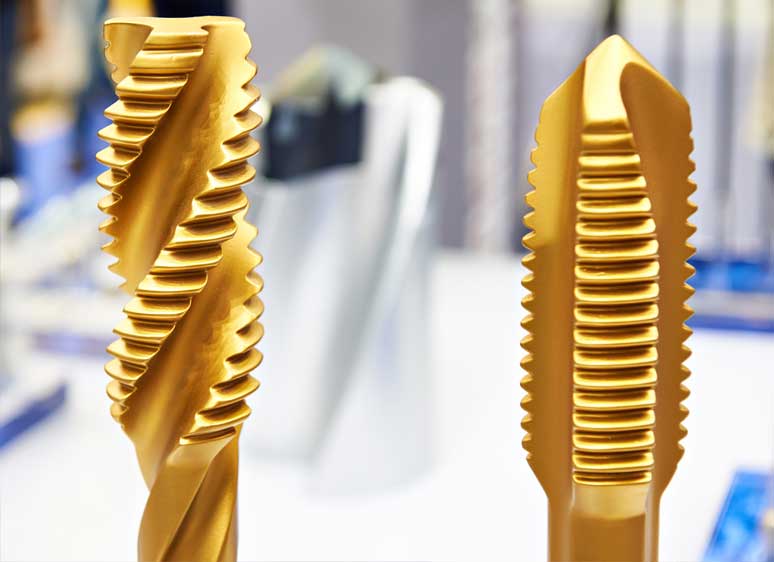
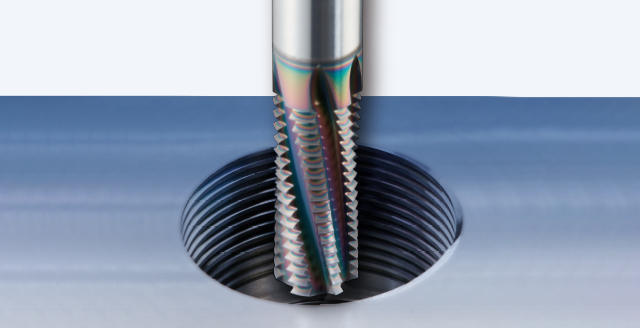
A variety of taps are available to match almost any screw type available, including metric and standard measurements. Information required to select the drill bit includes thread count, diameter, thread pitch, and coarse/fine threads.
Using Tap Guides
The tap guides, located with the taps, are crucial to creating a straight and usable tap. When tapping on a machine such as the Mill or Lathe, the tap is automatically centered and straight. Be wary of tap alignment when doing it manually, as the human eye isn’t as accurate as a perfectly 90 degree tap guide.
Using Oil
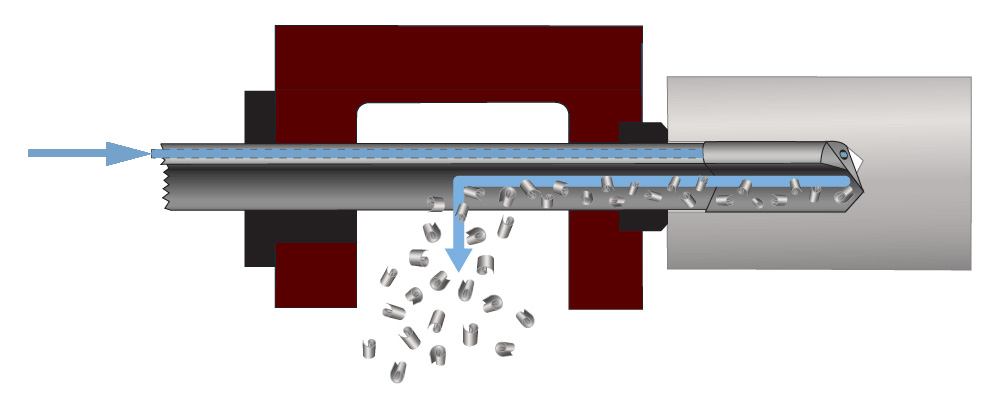
Oil is a necessity while drilling and tapping. It prevents overheating, helps clean out the chips created by the bits, assists the cutting action, and prevents the bits from squealing.
Center Drills
Creating a drilled and tapped hole first requires using a center drill. This gives the larger bits a center to align to, since most drill bits aren’t perfectly centered when mounted in a drill chuck. This ensures the larger bits will drill in exactly the right place and won’t walk across the part.
Pecking
While either drilling or tapping, pecking helps ensure the bits won’t overheat or break. Pecking is the process of drilling into the part a way, then backing out to remove the chips and allow the part to cool. Common practice is to rotate the handle being used about a full turn, then back a half turn. Every time the bit/tap is pulled out, as many chips as possible should be removed and oil should be added to the surface and the bit/tap.
Force
Be cautious to not apply too much downward force. Use a rotational force and tap pecking method to prevent tap breakage
Regarding the proportion of tap drill to thread major diameter, for standard V threads (ISO V thread and UTS V thread), there are several rules of thumb with strong predictive power:
The short answer is, you don’t have to. In most 3D CAD applications adding threading is a time consuming task that isn’t needed to add 3D taps to your part. If you want to add threads to certain holes on your part, just follow these steps
Usually, but it depends on the diameter. Tapped holes can be made with a traditional tap which is a tool made for a standard thread size, or a thread cutter, which is a small disk that cuts threads through the XYZ movement of the CNC. The thread cutter is limited to diameters greater than 1/2″. Custom threads can be made with a thread cutter, but this may result in a additional charge.
We’ve added a simple chart for the most common Standard and Metric tap sizes below.

Our online portal can provide instant quotes.
Whether you need one part or thousands.
High quality without inflated markups.
We’re here to help you manufacture your machined parts efficiently and timely. We understand the importance of getting your product(s) to market before your competitors do. We’re ready to accelerate your innovation.